Splatoon 3 Weapons Tier List 2026 — Best Weapons for Turf War, Anarchy & Salmon Run
This tier list is based on the current 2026 meta after all Splatoon 3 balance patches. Every weapon class ranked by how they perform in Turf War, Anarchy Battles (Splat Zones, Tower Control, Rainmaker, Clam Blitz), and Salmon Run. Not just stats — actual gameplay feel from hundreds of hours.
S-Tier Weapons
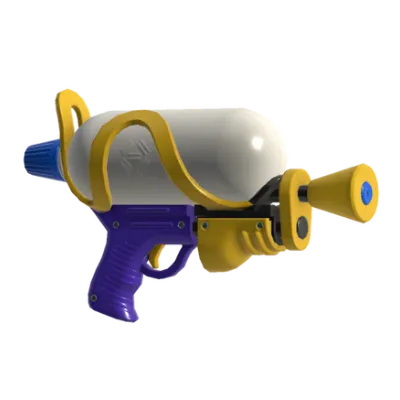
Splattershot
The undisputed king of Splatoon 3. 3-shot kill at close range, fast fire rate, excellent ink efficiency. The standard Splattershot with Trizooka is the most consistent weapon in the game — good on every map, every mode, every skill level. The Tentatek Splattershot with Splat Bomb + Triple Inkstrike is the top competitive pick. If you only learn one weapon, make it this one. Named the best weapon for Turf War, Tower Control, and Rainmaker by competitive players in 2026.
Best Splattershot kits in 2026:
- Tentatek Splattershot: Splat Bomb + Triple Inkstrike (S-Tier)
- Vanilla Splattershot: Suction Bomb + Trizooka (A-Tier)
- Hero Shot Replica: Identical to vanilla, use for style points
Splatana Wiper
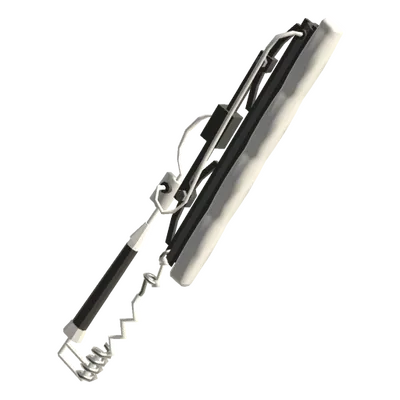
The Splatana Wiper is the best Splatana in the game and a top-tier competitive pick. The charged slash deals 150 damage — nearly a one-shot. The uncharged slashes come out fast and cover turf surprisingly well. What makes it S-Tier is the mobility: charge up, shark in with the dash-slash, delete someone, dip out. With Torpedo for chip damage and tracking, it controls space better than weapons with twice its range. Used extensively in top-level Anarchy Battles.
A-Tier Weapons
Splat Charger
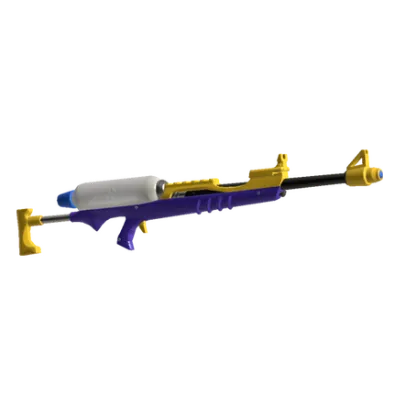
The Splat Charger is the backbone of backline play. A fully charged shot deals 160 damage in a thin line — enough to one-shot any player. The E-liter 4K variant has even more range but slower charge time. The Squiffer charges fast (about 20 frames) with shorter range for aggressive sniping. Chargers dominate on maps with long sightlines like Hammerhead Bridge and Museum d'Alfonsino. The key is positioning: high ground with an escape route. A good Charger controls entire lanes by existing.
Heavy Splatling
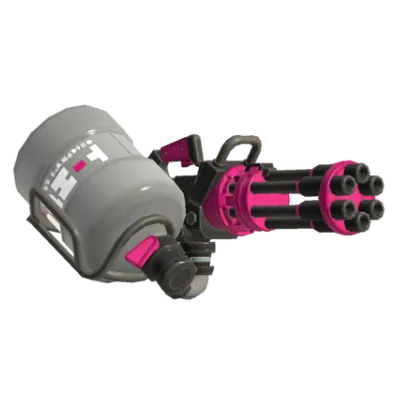
The Heavy Splatling is the turret that locks down zones. Full charge in about 60 frames, then fires continuously for about 3 seconds. The Hydra Splatling variant charges slower (about 90 frames) but fires for 5 seconds with terrifying range. Perfect for Splat Zones — charge behind cover, step out, suppress everything. Countered by bombs and flanks, so keep moving between charges. A good Splatling player on high ground forces the enemy team to completely change their approach.
Tri-Stringer
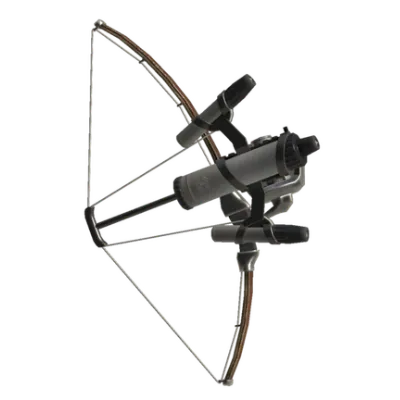
The Tri-Stringer fires three arrows in a spread arc — 40 damage per arrow direct, plus explosive charges that deal 30 damage each. The real strength isn't raw damage but zoning: the threat of charged shots makes enemies hesitate and reposition, which your teammates capitalize on. The REEF-LUX variant fires faster with a tighter spread. Stringers excel on maps with verticality like Flounder Heights.
Sloshing Machine
The Sloshing Machine throws a spinning blob of ink that deals 76 damage direct and 38 splash. It's deceptively strong because the projectile arc lets you hit over walls and ledges. The fizzy bomb sub weapon lets it paint quickly after a bad engagement. Consistently A-Tier in Tower Control because you can pressure the tower from angles no other weapon can reach.
B-Tier Weapons
Splat Roller
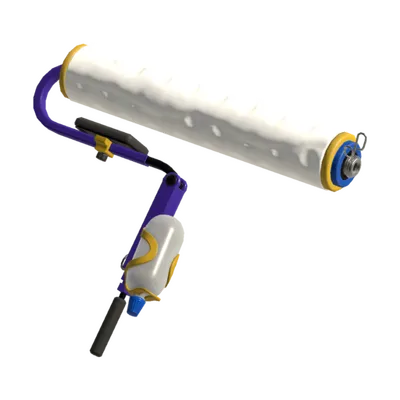
The Splat Roller flicks for about 150 damage in a wide arc. Rolling over someone is instant splat. The Carbon Roller flicks faster (about 12 frames startup vs the Splat's 20 frames) but only deals 100 damage. The Dynamo Roller is slow but devastating — 180 damage per flick covering a huge area. Rollers are ambush specialists that shine on maps with corners, ledges, and tight corridors. Flounder Heights and MakoMart are Roller paradise. New players often roll too much — flicking is almost always better.
Splat Dualies
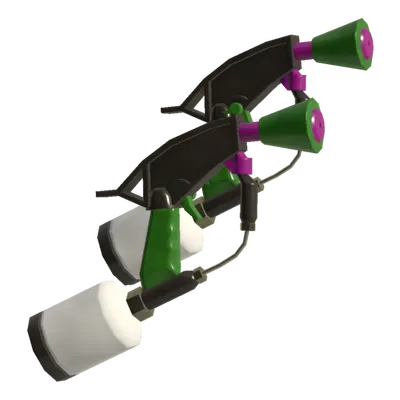
Dualies give you the dodge roll — two quick rolls in any direction. The standard Splat Dualies have a 5-shot kill at close range. After a dodge roll, accuracy tightens and both reticles converge for perfect accuracy for about half a second. The Dark Tetra Dualies get four rolls. Key issue: each roll costs about 6% of your ink tank. Too many Dualie players roll three times, run out of ink, and can't shoot back. Manage your ink.
Tri-Slosher
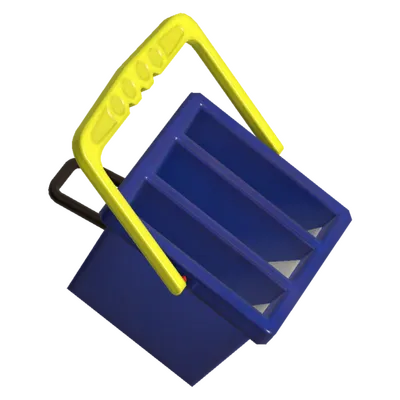
The Tri-Slosher throws three blobs in an arc. 62 damage per blob. Two hits to kill. It's a consistent mid-tier weapon that's easy to pick up but lacks the burst potential of S-Tier weapons. Good on maps with lots of low cover like Walleye Warehouse where you can slosh over boxes.
Splat Brella
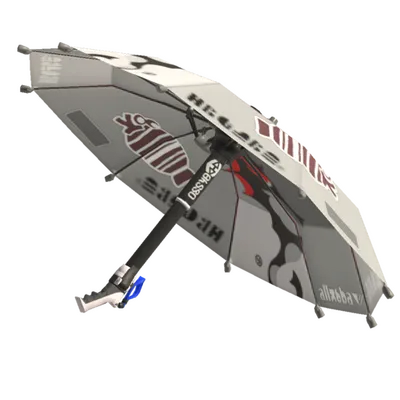
The Splat Brella's shield has 200 HP and blocks all incoming ink, including specials. The Tenta Brella deploys a massive slow-moving shield. The Undercover Brella fires while its weak shield (100 HP) is deployed. Brellas are powerful on the right map in the right hands — they control space better than anything except a well-placed Splatling. But they're inconsistent and hard to master.
Luna Blaster
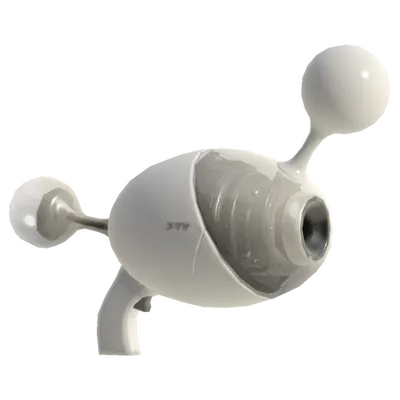
The Luna Blaster fires explosive rounds with short range but a huge blast radius — about 125 damage direct. Excellent on maps with tight corridors where splash damage hits around corners. Weak on open maps where enemies keep their distance. The Range Blaster trades damage for distance.
C-Tier Weapons
Inkbrush
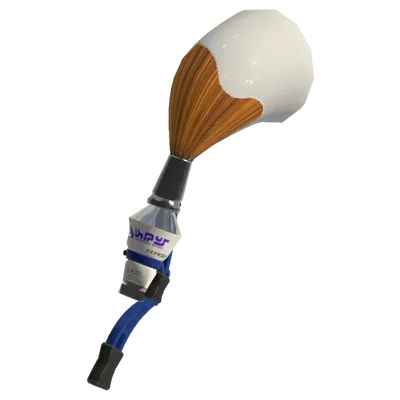
The Inkbrush swings fast, covers turf efficiently, and has the fastest rolling speed in the game. But it deals very low damage per swing and dies instantly if caught in the open. The Octobrush variant deals more damage but is slower. Brush players can ink the entire base in ten seconds and then zip to flank, but against competent players, the kill potential is too low.
Weapon Comparison Table
| Weapon Class | Base Damage | Range | Fire Rate | Ink Use |
|---|
| Weapon Class | Base Damage | Range | Fire Rate | Ink Use |
|---|
| Weapon Class | Base Damage | Range | Fire Rate | Ink Use |
|---|
| Weapon Class | Base Damage | Range | Fire Rate | Ink Use |
|---|
| Weapon Class | Base Damage | Range | Fire Rate | Ink Use |
|---|
| Weapon Class | Base Damage | Range | Fire Rate | Ink Use |
|---|
| Weapon Class | Base Damage | Range | Fire Rate | Ink Use |
|---|
| Weapon Class | Base Damage | Range | Fire Rate | Ink Use |
|---|
| Weapon Class | Base Damage | Range | Fire Rate | Ink Use |
|---|
| Weapon Class | Base Damage | Range | Fire Rate | Ink Use |
|---|
| Weapon Class | Base Damage | Range | Fire Rate | Ink Use |
|---|
| Weapon Class | Base Damage | Range | Fire Rate | Ink Use |
|---|
Best Weapons for Turf War (2026)
Turf War is where most players start, and the "best turf war weapon" question comes down to one thing: ink coverage. You win by painting more floor than the other team, so the ideal weapon either covers ground fast, or kills the other team before they can paint.
The two best turf war weapons in the 2026 meta are the Aerospray RG and the Splattershot, but they win for different reasons:
- Aerospray RG — the best pure turf-coverage weapon. It lays ink faster than anything else in the game. It loses most straight-up fights, but if you focus on painting and back off from fights you can't win, you top the coverage chart every match.
- Splattershot — the best all-rounder. It paints less than the Aerospray, but it kills reliably, so you can paint *and* hold ground instead of just running.
For a third option, the Splat Roller rolls over large areas fast, and the Splat Dualies dodge-roll through enemy ink while painting. Any turf war tier list worth reading puts the Aerospray and Splattershot on top, with Rollers and Dualies right behind.
Best Weapon for Each Game Mode
- Turf War: Splattershot (consistent paint + kill power) or Aerospray RG (maximum turf coverage)
- Splat Zones: Heavy Splatling (zone lockdown) or Splattershot (all-rounder)
- Tower Control: Sloshing Machine (angle attacks on tower) or Splat Charger (pick off riders)
- Rainmaker: Splatana Wiper (fast pushes) or Splattershot (reliable escort)
- Clam Blitz: Splat Dualies (fast clam collection) or Inkbrush (speed run clams)
- Salmon Run: Splattershot (all-rounder), Splat Roller (crowd control), Splat Charger (boss sniping)
Weapons for Beginners
Start with the Splattershot. It's the most forgiving weapon in the game — good range, good damage, good ink efficiency, no weird mechanics to learn. Once you're comfortable, try the Splat Roller (different playstyle, teaches map awareness and ambush timing) or the Tri-Slosher (easy aim, teaches you to use cover and angles).
Avoid starting with Chargers or Splatlings — they require strong aim fundamentals and map awareness that you develop by playing Shooters first.
Once you've picked a weapon, pair it with the right gear — see our best Splatoon 3 builds guide for loadouts that maximize each weapon's strengths.